Manage and Create License Keys for Java Applications
If you want to manage and create license keys for Java applications, you have a few different alternatives to choose between. The simplest way to implement software licensing is to code a license key generator that performs partial key verification. However, for more serious and long-term use cases, a software licensing solution that performs full key verification is to be preferred. In this blog, we will briefly cover those two alternatives to help you license and protect your Java applications with license keys.
License Key Generator in Java
A software license solution has to create a lock in your Java project that only unlocks the application if the user inserts a valid license key. Creating a license key generator is a shortcut to licensing where your code performs partial key verification and generates subsets of license keys. However, such a solution is far from optimal for larger-scale use. The structure that you use to generate license keys will leak over time, and it is quite easy to bypass the homemade and lightweight licensing system. If you want to learn more, please read this blog post.
LaaS – Manage and Create License Keys for Java Applications
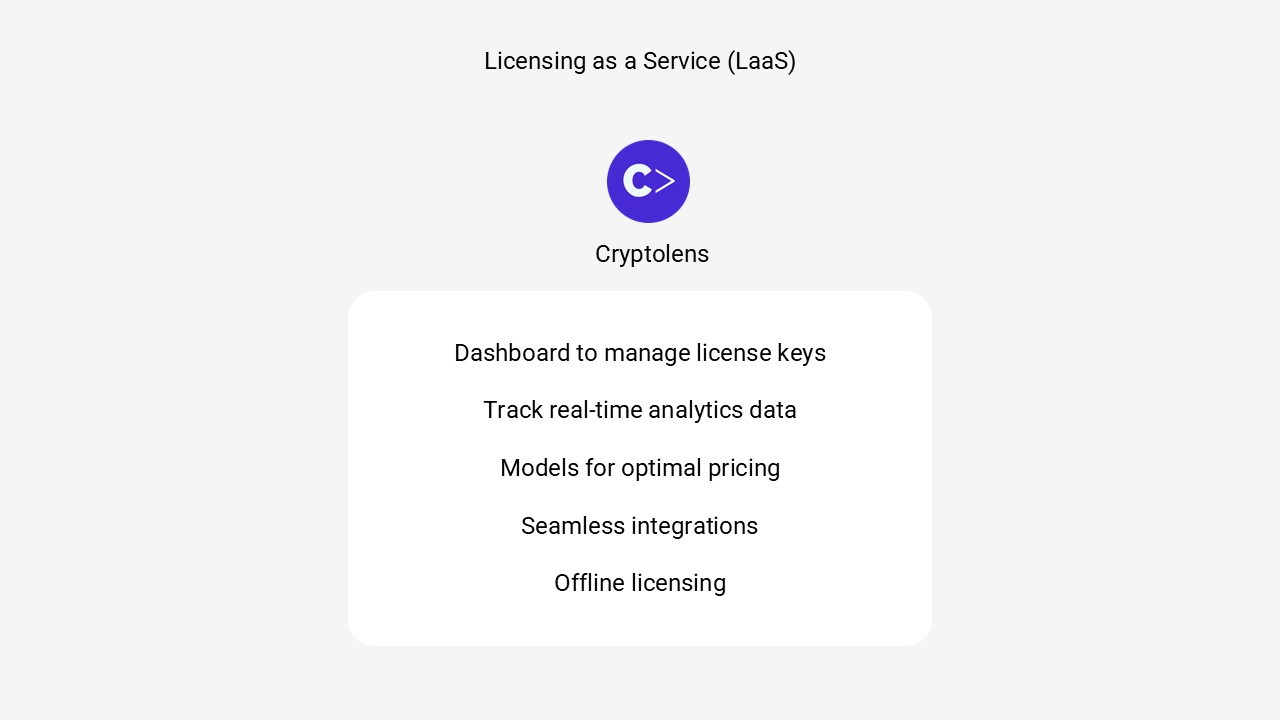
Coding a software licensing system that performs full key verification and has the necessary licensing features you need for an application in production will take a lot of time and money. Outsourcing software licensing to a Licensing as a Service (LaaS) provider such as Cryptolens is then a more optimal choice for many software companies. Then, you get all of the advanced licensing features at a fraction of the price of coding and maintaining a licensing system yourself.
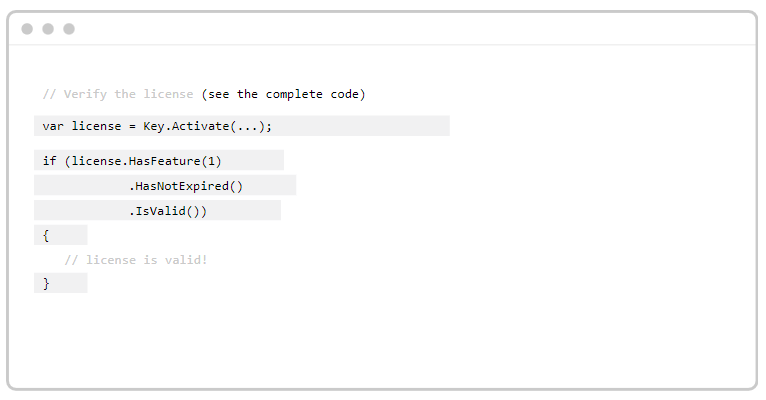
Getting started with our software license manager for Java applications is easy! Our Java client API allows you to easily verify license keys, and you can read more about how to add it to your project on GitHub. You then have to sign up to our platform for free and add a code snippet to your Java code.
Below is an example of the code that you can use in your application.
import io.cryptolens.Cryptolens;
import io.cryptolens.Helpers;
import io.cryptolens.LicenseKey;

public class Main {

    public static void main(String[] args) {
        String RSAPubKey = "<RSAKeyValue><Modulus>sGbvxwdlDbqFXOMlVUnAF5ew0t0WpPW7rFpI5jHQOFkht/326dvh7t74RYeMpjy357NljouhpTLA3a6idnn4j6c3jmPWBkjZndGsPL4Bqm+fwE48nKpGPjkj4q/yzT4tHXBTyvaBjA8bVoCTnu+LiC4XEaLZRThGzIn5KQXKCigg6tQRy0GXE13XYFVz/x1mjFbT9/7dS8p85n8BuwlY5JvuBIQkKhuCNFfrUxBWyu87CFnXWjIupCD2VO/GbxaCvzrRjLZjAngLCMtZbYBALksqGPgTUN7ZM24XbPWyLtKPaXF2i4XRR9u6eTj5BfnLbKAU5PIVfjIS+vNYYogteQ==</Modulus><Exponent>AQAB</Exponent></RSAKeyValue>";

        Cryptolens cryptolens = Cryptolens.getDefault();
        cryptolens.setRSAPublicKey(RSAPubKey);

        Cryptolens.ActivateResponse response =
                cryptolens.activate( "WyIyNTk1IiwidVVrQm94OGlYS3pHZlhTc0x6Rm9mN1piektrT0FSd0REaFZ0ZXZJMSJd"
                        , 3349
                        , "ICVLD-VVSZR-ZTICT-YKGXL"
                        , Helpers.GetMachineCode()
                );

        if (!response.successful()) {
            System.out.println("Failed to activate!");
            Cryptolens.ActivateServerError er = response.getServerError();
            Exception ex = response.getException();

            if (er != null) {
                System.out.println("Server error: " + er);
            }

            if (ex != null) {
                ex.printStackTrace(System.out);
            }

            return;
        }

        LicenseKey licenseKey = response.getLicenseKey();

        System.out.println("Activation was successful!");
        System.out.println(licenseKey.getKey());
        System.out.println(licenseKey.getF1());
    }
}