Why Outsourced Software Licensing Systems Are Better Than Internal Solutions
When developing a software application, many ask how they should implement a software licensing system. Should you code it yourself? Should you outsource software licensing?
I would generally say that outsourced software licensing is the most scalable, reliable, and cost-effective solution in the long run. This blog will cover exactly how a third party can help software developers save both time and money!
We have made the following video covering this topic as well:
Coding it yourself
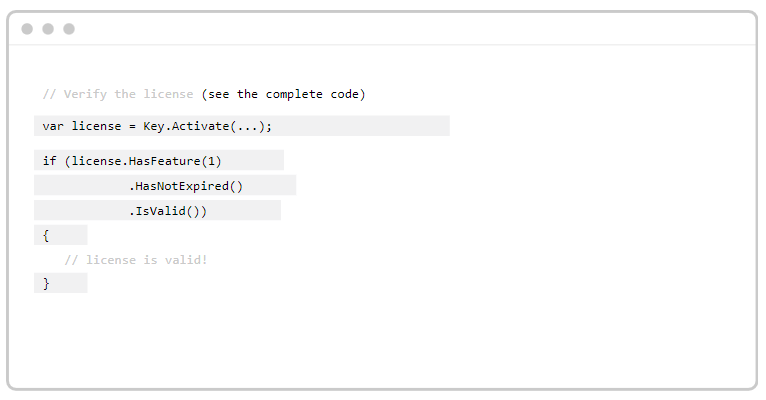
First of all, what is a software licensing system? We have a short blog post covering that topic that I recommend you to read if you are unsure. You can find that blog post here.
This post will be all about implementing such as system in practice. One way is to code it yourself, and there are some situations where you might want to do that. If your application is not supposed to be sold on a large scale, and you want to grow your coding skills, coding a software licensing system can be a fun project for hobby developers.
You might also say that coding it yourself is the economically smart solution since you pay with your own time rather than your own money. That argument falls a bit flat when considering that some software licensing providers, such as Cryptolens, are completely free during the development phase of your application.
You can then implement software licensing without any risk!
Outsource software licensing – the benefits
Coding your own system will take time. Implementing a third-party solution is a lot more effortless, allowing you to quicker bring your product to the market. This also helps you save money, since there is no internal development cost.
So outsourcing helps you save both time and money, but let’s say that you completely ignored our recommendations and coded your own system anyway. You may suddenly find yourself in a problematic situation – your company grew so much that your self-coded system is no longer able to support your needs. Constantly getting angry emails from customers saying they can’t access your product is never good. This highlights the fact that a software licensing system needs to constantly be updated and maintained to work flawlessly.
What about coding your own system at first, and then switching to a third party when the maintenance gets out of hand? Well, at that point in time, switching licensing solutions will be a big project that will have an impact on all of your customers. Let’s face it, it is probably easier for your customers to go to a competitor than it is for you to switch solutions at that point.
A final shared value perspective
To conclude this blog, I would like to step away from the perspective of time, money, us and them, and step into a world of shared value – the concept that combines business success with providing value to society as a whole.
By outsourcing software licensing to experts, your company can focus on what truly matters:
Your own product.
That way, your company does not only become more productive and cost-effective, but it also helps you provide more value to your customers, and you make the world just a little bit better.
Thank you for reading, stay kind!