Creating an Interactive Software Product Demo (Free)
When we at Cryptolens swapped out our old video demo for an interactive software demo, we saw big improvements in interactions and completion rates. When thinking about it, it’s easy to see why. Everyone are used to seeing demo videos play in the background of websites, but they can easily be ignored and missed. A product demo is a unique method of showing off your strengths and benefits!
In this blog, we will cover how to create an interactive software product demo for free using arcade.software. We will also cover how to add the demo to a webpage. Elementor is my website editor of choice, but it of course works on other websites as well!
We have made the following video if you’d rather watch and not read:
Creating Interactive Software Product Demos
Step 1 – Sign Up to a Tool
The first step is to sign up to the tool you want to use to create your demo. The tool we picked is called arcade.software, but you can choose whichever one you prefer out of the competition. In our experience, Arcade works well and is easy to set up. The free version might be fine if you are not planning to use the demo on that many pages, but since we are displaying the demo on our front page, we opted for the Pro plan.
Step 2 – Record the Software Product Demo
After signing up to Arcade, recording the product demo is easy! Simply download their Chrome extension, go to the page you want to record, and open the Arcade extension using the puzzle icon in Chrome. In my experience, the standard recording settings are fine. When ready, simply press “Record interactive demo”!
When you are recording, Arcade will produce a combination of screenshots and videos based on your interactions in Chrome. It will automatically create hotspots above the buttons you click to navigate through your product that you can edit in the next step. These stages are usually displayed as screenshots, but when you scroll or type out text in fields for example, Arcade will record the actions for a visually appealing demo.
Step 3 – Edit the Software Product Demo
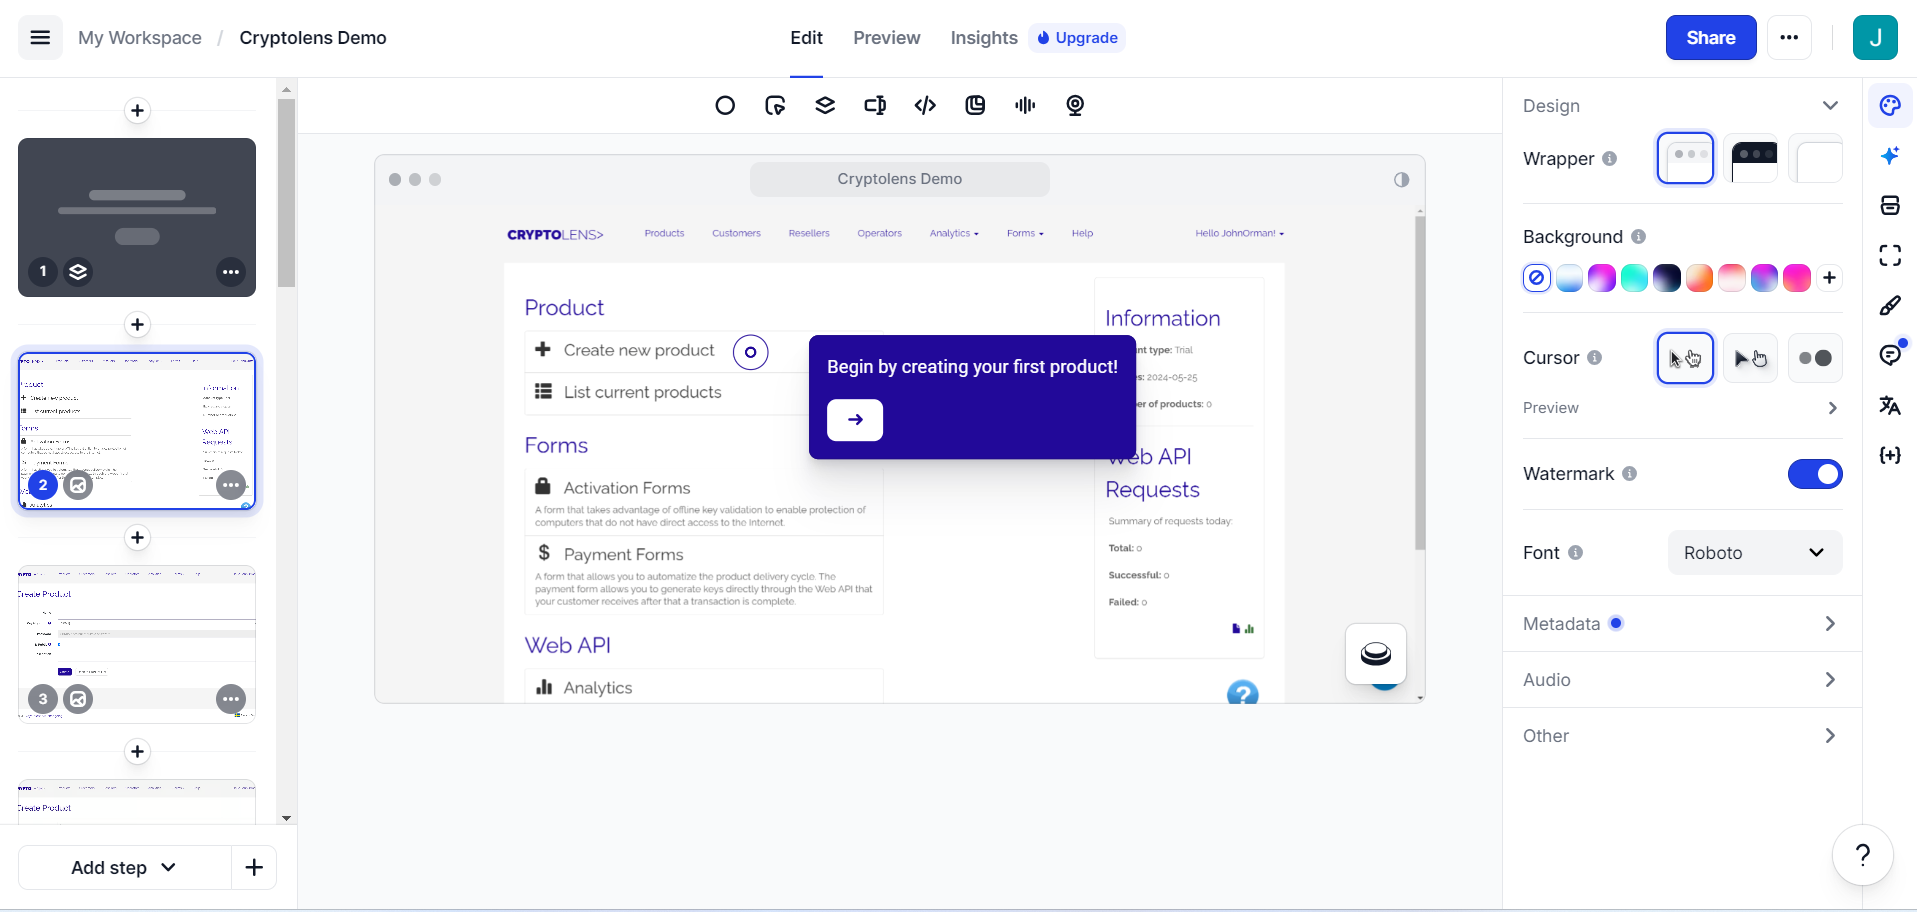
When you’re done recording, simply press the Arcade extension once more to end the recording. Arcade will then automatically create a product demo with hotspots. While some editing features such as zooming and panning are restricted to the paid versions, you are able to add text boxes and chapters to guide users through the demo. Make sure to use your brand colors!
Step 4 – Embedding the Demo on a Website
Embedding an Arcade is done with a simple HTML code. Press the “Share” button when you are done editing, and select “Get Code”. At Cryptolens, we chose to display the Arcade using the “Inline” option for both desktop and mobile. At the bottom of the page, click “Copy Code”.
This HTML code can now be pasted anywhere on any website. For this guide, I will be using Elementor’s page builder for WordPress. When editing a page in Elementor, find the “HTML” widget and drag it wherever you want the demo to be. In the HTML Code field, simply paste the HTML code you copied in the Arcade dashboard. The demo should now be visible and fully working on the website!
Thank you for reading, Stay Creative!
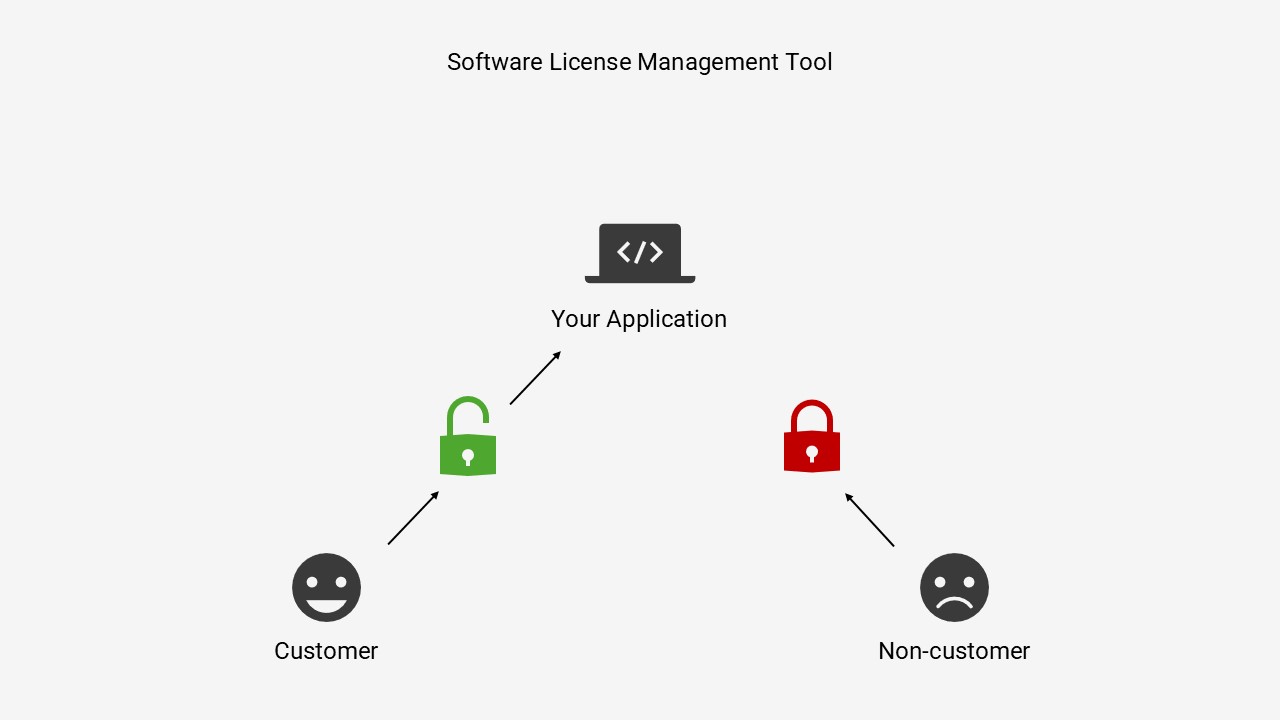
What is Cryptolens?
At Cryptolens, we are devoted to helping software developers launch and scale a software business. We offer advice and guides in blogs and YouTube videos, specially made for software product startups! Furthermore, we offer an easy-to-use software license management tool to help software developers set up a software licensing system. Restricting access against unauthorized users is a crucial enabler when wanting to sell a software product, and our Licensing as a Service (LaaS) platform helps you do just that!