Software Licensing Solution in Rust
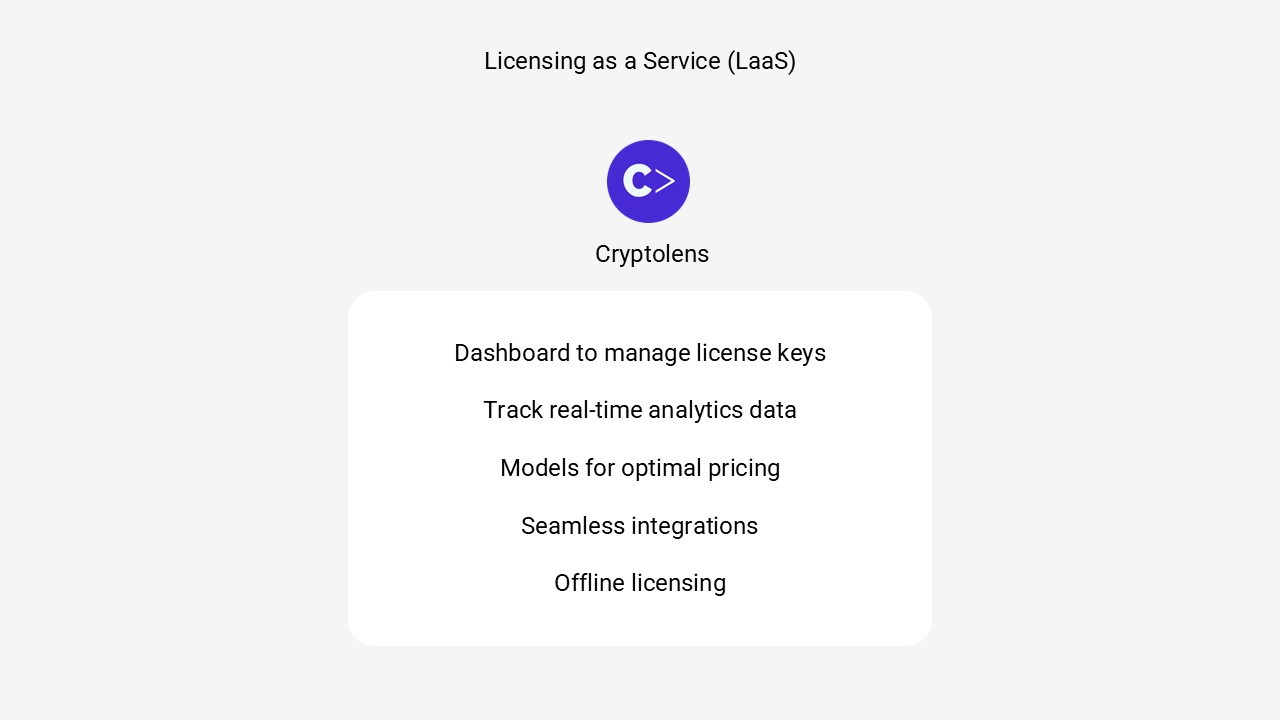
If you want to implement a software licensing solution in Rust, you have several different ways you can choose between. You can, for example, code a simple license key generator yourself. That can serve as a fun project and is ideal for small-scale use. If you instead want to sell your Rust application, you need a more long-term software licensing solution. Working with a Licensing as a Service (LaaS) provider such as Cryptolens can then save you a lot of time and money. In this blog, we will briefly cover these two alternatives in a bit more detail.
License Key Generator for Rust Applications
A Rust license key generator is a shortcut to software licensing where your application performs partial key verification. You can then generate a subset of license keys that you hand out to select users. We describe this method further in this blog. However, there are several drawbacks to such a simple licensing solution. The structure that you use to generate license keys will leak over time, and it is quite easy to bypass these keygen systems. For more serious and long-term use, it is worth investing in a licensing solution that performs full key verification.
Outsourced Software Licensing Solution in Rust
Instead of having to code a software licensing system yourself, you can work with a Licensing as a Service (LaaS) provider such as Cryptolens to simplify your Rust application’s licensing. Then, you get access to all of our advanced licensing methods from day 1, at a fraction of the price of developing and maintaining such a system yourself.
The steps to get started are easy: We have released a library that you can use to implement full license key verification for applications written in Rust. The library is freely available on GitHub. Then, you can sign up for free to our software licensing platform to manage your license keys, and then insert a short code snippet into your Rust project.
To verify a license, you can use the code similar to the one below. More information about the parameters can be found here.
use cryptolens;

fn main() {
  let license_key = cryptolens::KeyActivate(
      "WyI0NjUiLCJBWTBGTlQwZm9WV0FyVnZzMEV1Mm9LOHJmRDZ1SjF0Vk52WTU0VzB2Il0=",
      cryptolens::KeyActivateArguments {
          ProductId: 3646,
          Key: "MPDWY-PQAOW-FKSCH-SGAAU",
          MachineCode: "289jf2afs3",
          .. Default::default()
      }
    ).unwrap();

  let public_key = r#"<RSAKeyValue><Modulus>khbyu3/vAEBHi339fTuo2nUaQgSTBj0jvpt5xnLTTF35FLkGI+5Z3wiKfnvQiCLf+5s4r8JB/Uic/i6/iNjPMILlFeE0N6XZ+2pkgwRkfMOcx6eoewypTPUoPpzuAINJxJRpHym3V6ZJZ1UfYvzRcQBD/lBeAYrvhpCwukQMkGushKsOS6U+d+2C9ZNeP+U+uwuv/xu8YBCBAgGb8YdNojcGzM4SbCtwvJ0fuOfmCWZvUoiumfE4x7rAhp1pa9OEbUe0a5HL+1v7+JLBgkNZ7Z2biiHaM6za7GjHCXU8rojatEQER+MpgDuQV3ZPx8RKRdiJgPnz9ApBHFYDHLDzDw==</Modulus><Exponent>AQAB</Exponent></RSAKeyValue>"#;

  match license_key.has_valid_signature(public_key) {
    Ok(true) => { }
    _        => { println!("Signature check failed. Aborting!"); return; }
  }

  println!("Successfully activated license key: {}", license_key.Key.unwrap());
}
As always, let us know should you have any questions!